This section will explain the 'how to' side of the clockcard screen. There is a lot of maintenance involved in ensuring the clockcard screen data is accurate, but the benefit is that all reports and data sourced from this will be accurate
Clockings are generally imported into the system but it is possible to manually enter/edit clockings into Softworks, if you have the correct user settings.
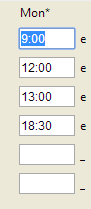
To enter a clocking, click on the field where you wish to enter the clocking and type the time required. Remember that it is 24 hour clock, and should be in hours and minutes
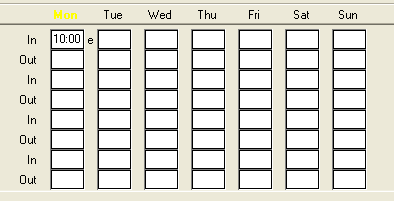
When you have entered a manual clocking you will see an “e” next to the clocking, and the day will turn yellow. You will need to recalculate the clockings for the hours to appear in the totals section
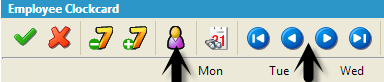
To find an employee, you may use either the Employee Cycle icons or the find an employee icon
Changing the Date
It is possible to move back and forward through weekly clock-cards by clicking on the plus/minus 7 days icons.
If you need to access a specific date, click on the “go to date” icon.

Now enter the date you require, and press OK
You may wish to manually tell the system to recalculate a day. This can occur when you have already made changes to the system, the day has become locked, and you then unlock the day requiring a recalculation to return to normal.
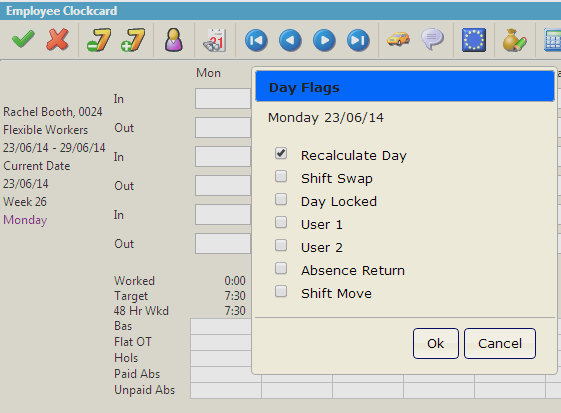
Left-click on the name of the day you wish to recalculate and select Recalculate Day in the pop up box. Next, select the recalculate icon on the main toolbar and the day will be recalculated.
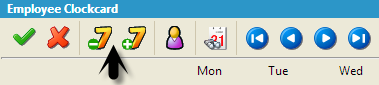
The recalculate icon on the toolbar is the following - 
When information is changed in regards to a specific day in the clockcard, the day will show as yellow. This indicates that the day should be recalculated. Changing any of the following information will require a recalculation for the changes to take effect:
Clockings
Shift worked
Calculation rule
Roster
Follow the same process as outlined above to recalculate the day.
Once the calculator icon has been selected, the changes should be reflected in the totals section, and the day should not be yellow any more.
It is possible to assign a user flag to a clocking, so that attention may be brought to a clocking. The system will allocate some flags automatically, but for all other circumstances it is possible to add a user flag.
Right click on the clocking you wish to flag, and select user clock flag.
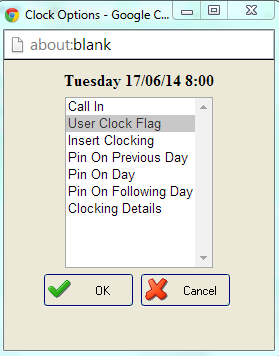
This will add an “o” next to the clocking, and this can now be reported on.

Click on the comments icon and you will see the comments screen:
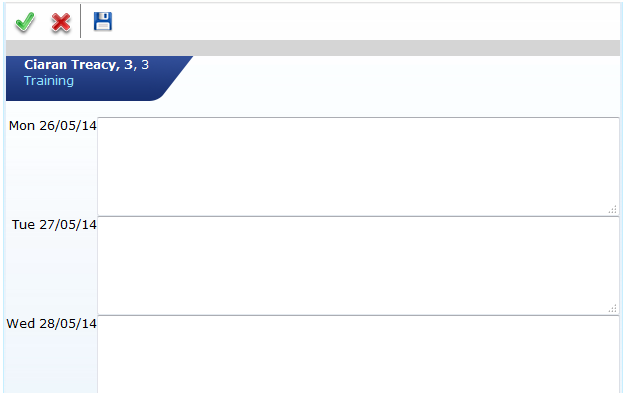
Type the text into the appropriate text field for the day in question, and click on the blue disk to save.
Once you have added the comment and saved the changes, the day will be highlighted with an asterix, as you can see on Monday in the example below;
The most common “flags” that a user will see in the system are “e” and “x”. All other flags are specific to set criteria. For example, if your organisation does not roster employees to be “on call” then you will never see the “c” flag.
E – An “e” symbolises a clocking that has been manually entered.
X – An “x” symbolises a clocking that has infringed the rules of the shift, for instance, a ‘late/early’ clocking.
O – This symbolises a user flag, where an individual user may choose to flag a clocking manually.
C – A “c” symbolises a ‘call-in’ clocking
I – Inserted by the system, for instance if employees do not clock for lunch, but the system does this automatically on their behalf.
P – This is a clocking that belongs to the previous day
If an employee forgets to clock in/out during a working day, or if they clock too many times, there may be an issue with the number of clockings that appear on the clockcard screen. An example of a day with the incorrect number of clockings is seen below.
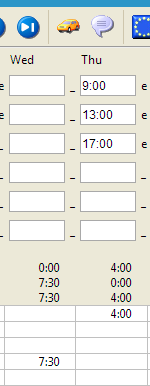
In this example above, on Thursday, there are 3 clockings in the clockcard. In this example the employee is expected to clock in/out 4 times a day, as follows:
Clock in at start of shift
Clock out for lunch
Clock in from lunch
Clock out at end of shift.
The result of an incorrect number of clockings is an incorrect calculation of the hours worked, as in the example seen here, it appears that only 4 hours have been worked as the correct clockings are not seen.
It may be obvious to a manager/supervisor as to which clocking is missing, but to users who are not in direct contact with the employee in question, it may be hard to gage which clocking is missing. Looking at the example, it may appear that a lunch clocking is missing, but did they forget to clock out for lunch, or back from lunch?
In this instance it is always recommended to check with the supervisor/employee to find out which clocking is missing.
When it has been ascertained which clocking is missing, the clocking will then need to be inserted.
To insert and extra clocking, you need to create a space for the clocking to be entered. To do this, right click on the clocking that you wish to “push” down, to create the space for the clocking.
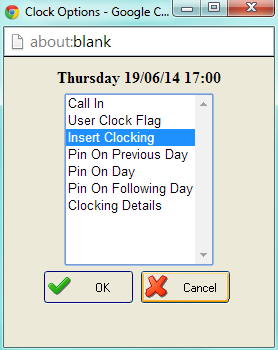
Click on Insert Clocking and then OK
You can then recalculate the day to correct the calculation in the Clockcard.
To remove a clocking, simply delete the details and recalculate that particular day. The information and calculation will then return to the way it was.