It is possible to move back and forward through Summary Timesheets by clicking on the plus/minus 7 days icons.
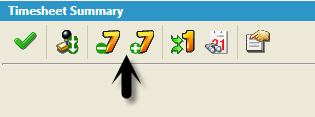
However if you would prefer to authorise the information daily, you can change the summary from weekly to daily.
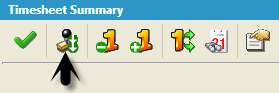
To do this, select the following icon;
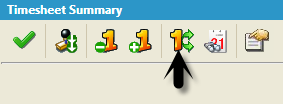
You will notice, the icons to the left of it will change to -1 and +1, allowing you to go back and forward a single day. Should you wish to return to a weekly summary, click on the  icon again.
It is important to consider that as you are authorising hours that have been worked, you will usually need to load the previous week.
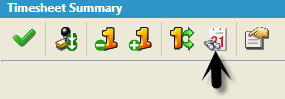
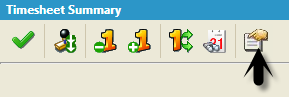
If you need to access a specific date, click on the “go to date” icon.
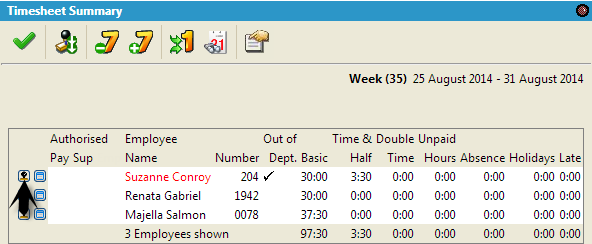
Once the hours have been confirmed for an employee, you may authorise the totals. This is important, as it records that the totals are correct, and also stops any changes being made after the authorisation.
You can click on the “Authorise” icon to authorise each employees totals as displayed.
Authorising employees with the “Authorise” icon can take time if you have a lot of employees to authorise. There is an Authorise All icon icon, however this is usually only available to Payroll level.
When the Payroll user logs into the system and can see the Authorised tick for all employee's under 'Sup', they can select the Authorise All and it will authorise all employee hours under the 'Pay' level.
The Summary Timesheet is the main screen for authorising hours for employees. In most organisations, employees work the shift they were assigned and the hours calculate without issue. The Summary Timesheet screen can be used to highlight any issues, basically to bring the problem employees to the top of the list. Click on the options icon
You will see the following screen;
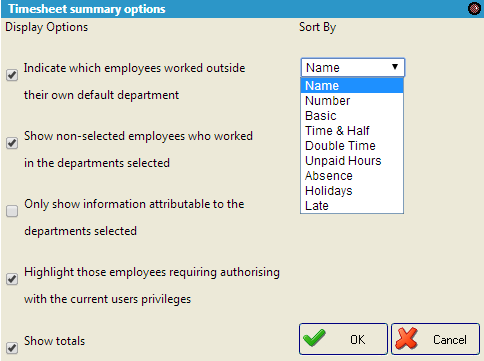
You can sort by the different columns in the Summary Timesheet. For instance, you can bring all the employees with overtime to the top, or lates, or time in lieu. Select the column you wish to sort by and click OK. You will now see the employee with the most amount of hours for the column selected.
You can also select setting such as "Highlight those employees requiring authorising with the current user privileges", selecting this means employees who need authorising will be highlighted in red in the Summary Timesheet Screen. This helps to identify employees with exceptions.
The Summary Timesheet options screen allows further settings to be changed for the Summary Timesheet screen. To access the options, click on the Options icon.
You will now see the following screen.
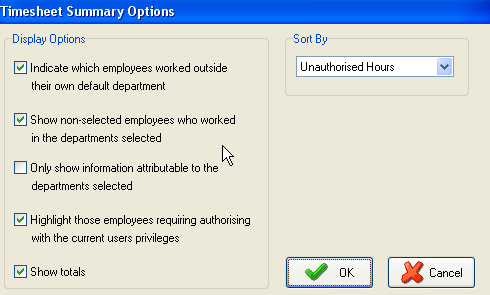
Use the Sort By list to select which category you wish to sort the Summary Timesheet by. This is a useful way of bringing issues to the top of the list. For instance, if you sort the list by Lates, then the employees with the highest amount of time recorded as Late at the top.